

 DigiMEDSPA EMR
 DigiMEDSPA CONNECT ™
Reschedule a Booking
This guide provides clear, step-by-step instructions on how to reschedule a booking using the DigiMEDSPA Portal. Rescheduling allows you to change only the date and time of an existing appointment, while keeping the rest of the booking information unchanged, including the service, provider, and location the same.
Our portal offers two booking options: Express Booking for quick single-service scheduling and Advance Booking for booking multiple services simultaneously.
Understanding Terminologies
Booking
A booking refers to reserving a time slot for esthetic and wellness procedures such as facials, chemical peels, injectables, or laser therapies. It typically involves selecting a service, choosing a time slot, and confirming appointment details.
Reschedule a Booking from the Bookings List Screen
- The user can reschedule a booking through the Bookings List Screen accessible via three entry points.
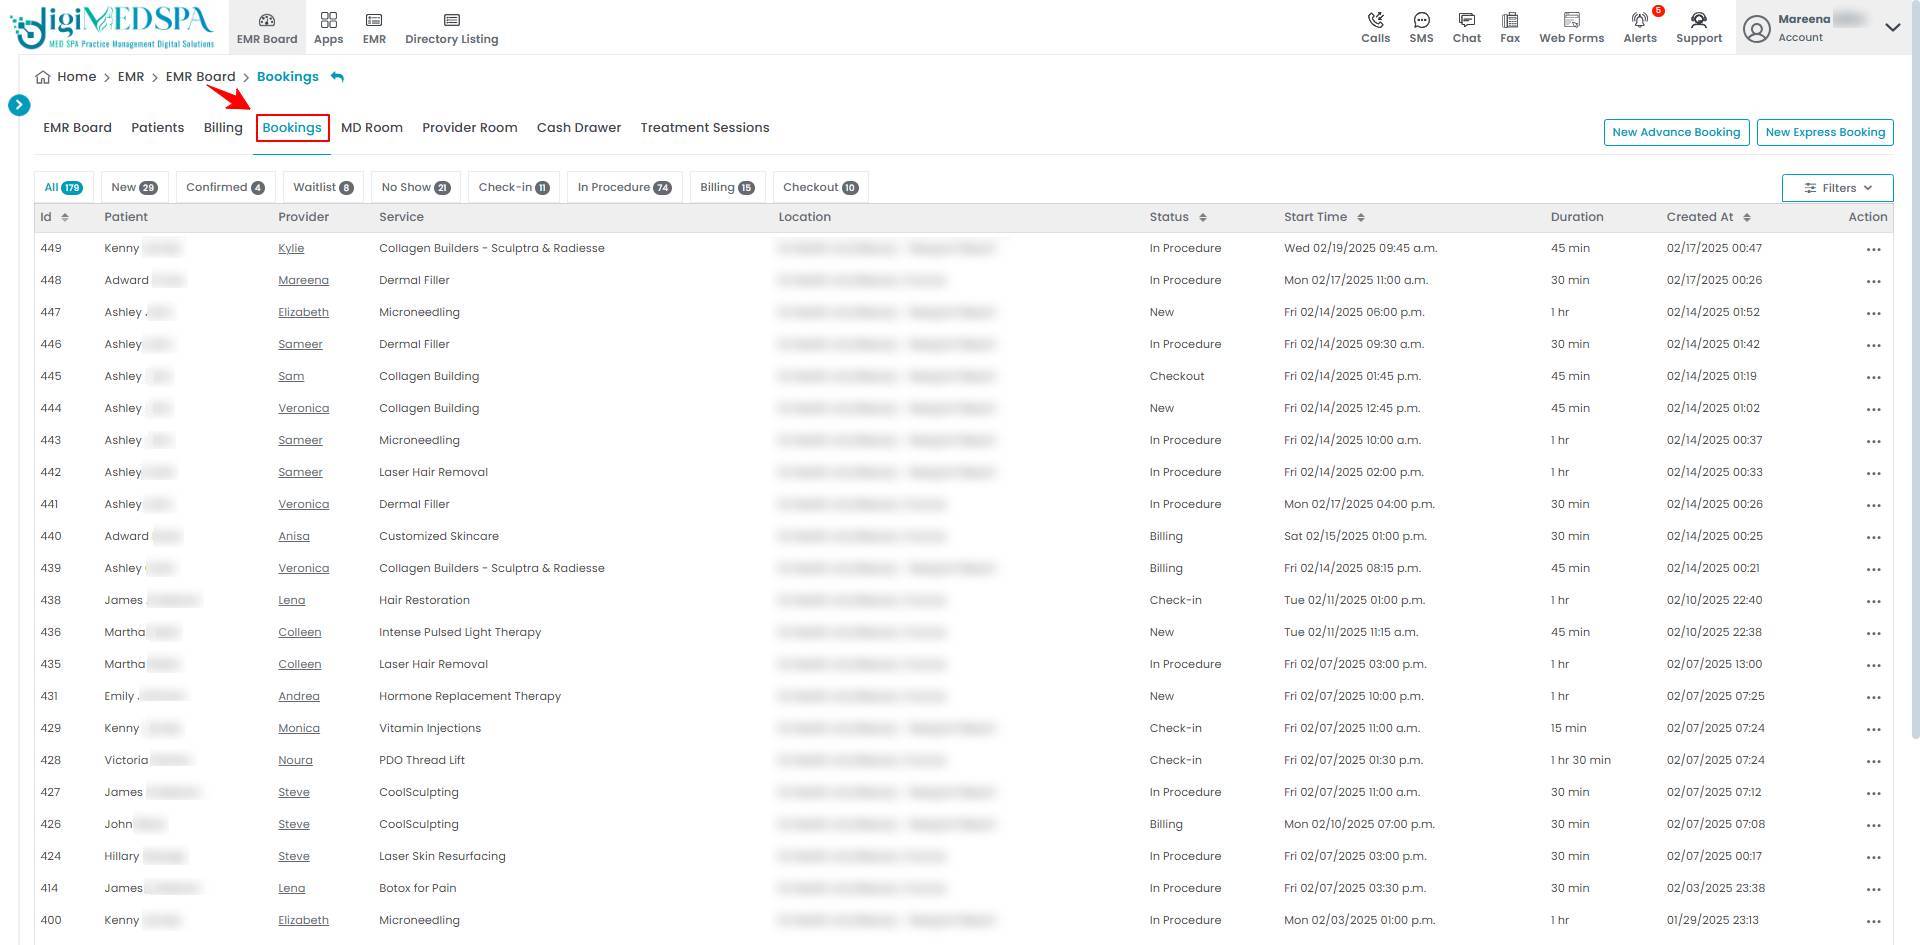
- From the EMR Board Tabs, select “Bookings.’’

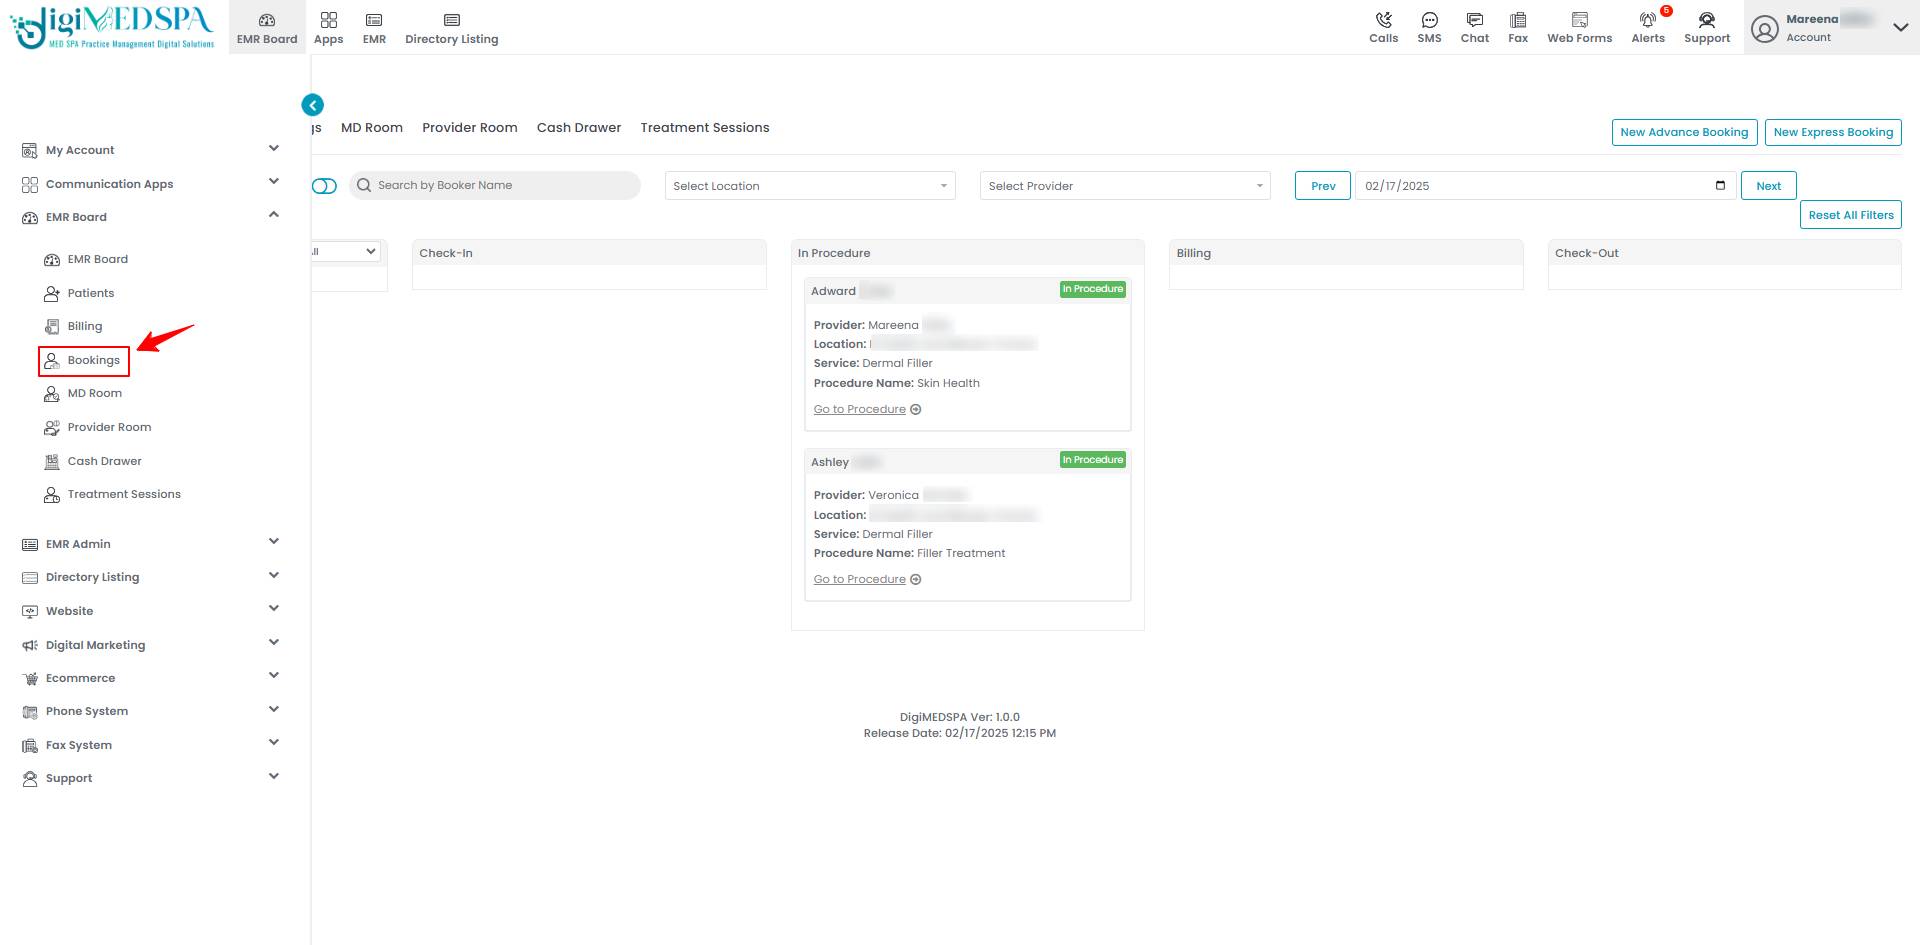
- From the Left Navigation, click on the “EMR Board” dropdown and select “Bookings.’’
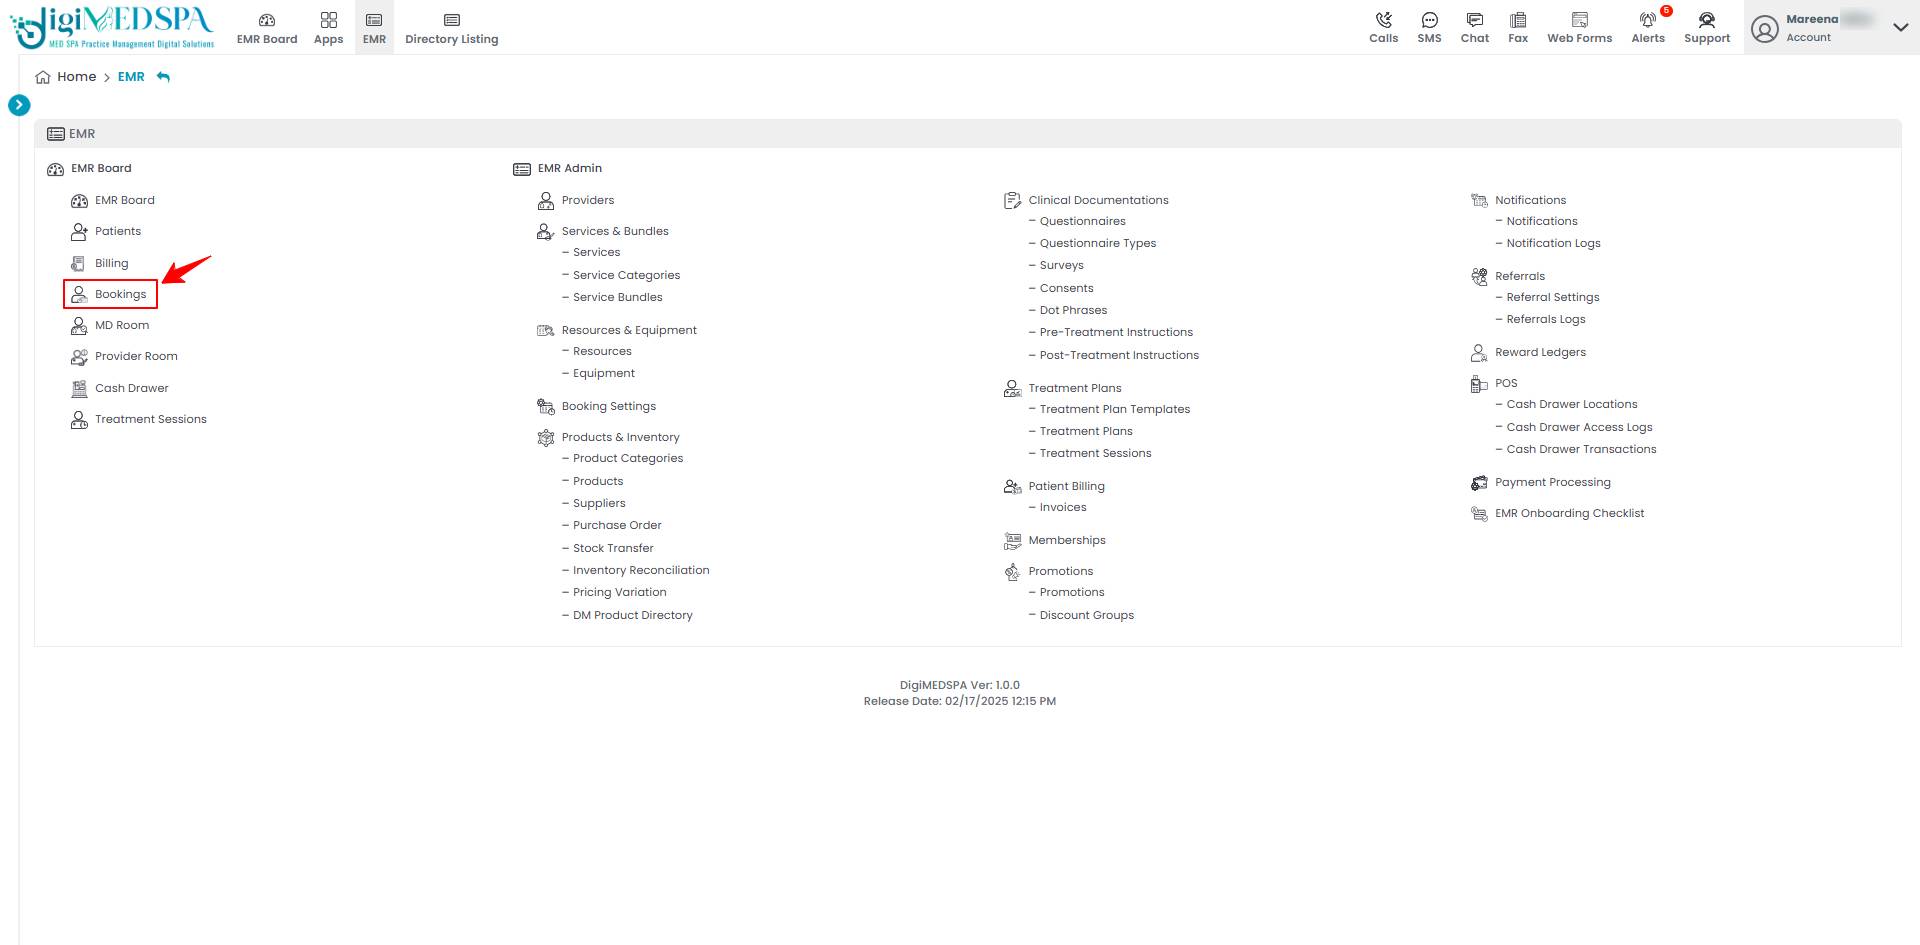
- From the EMR Panel, click on “Bookings” under “EMR Board.’’
- From the EMR Board Tabs, select “Bookings.’’
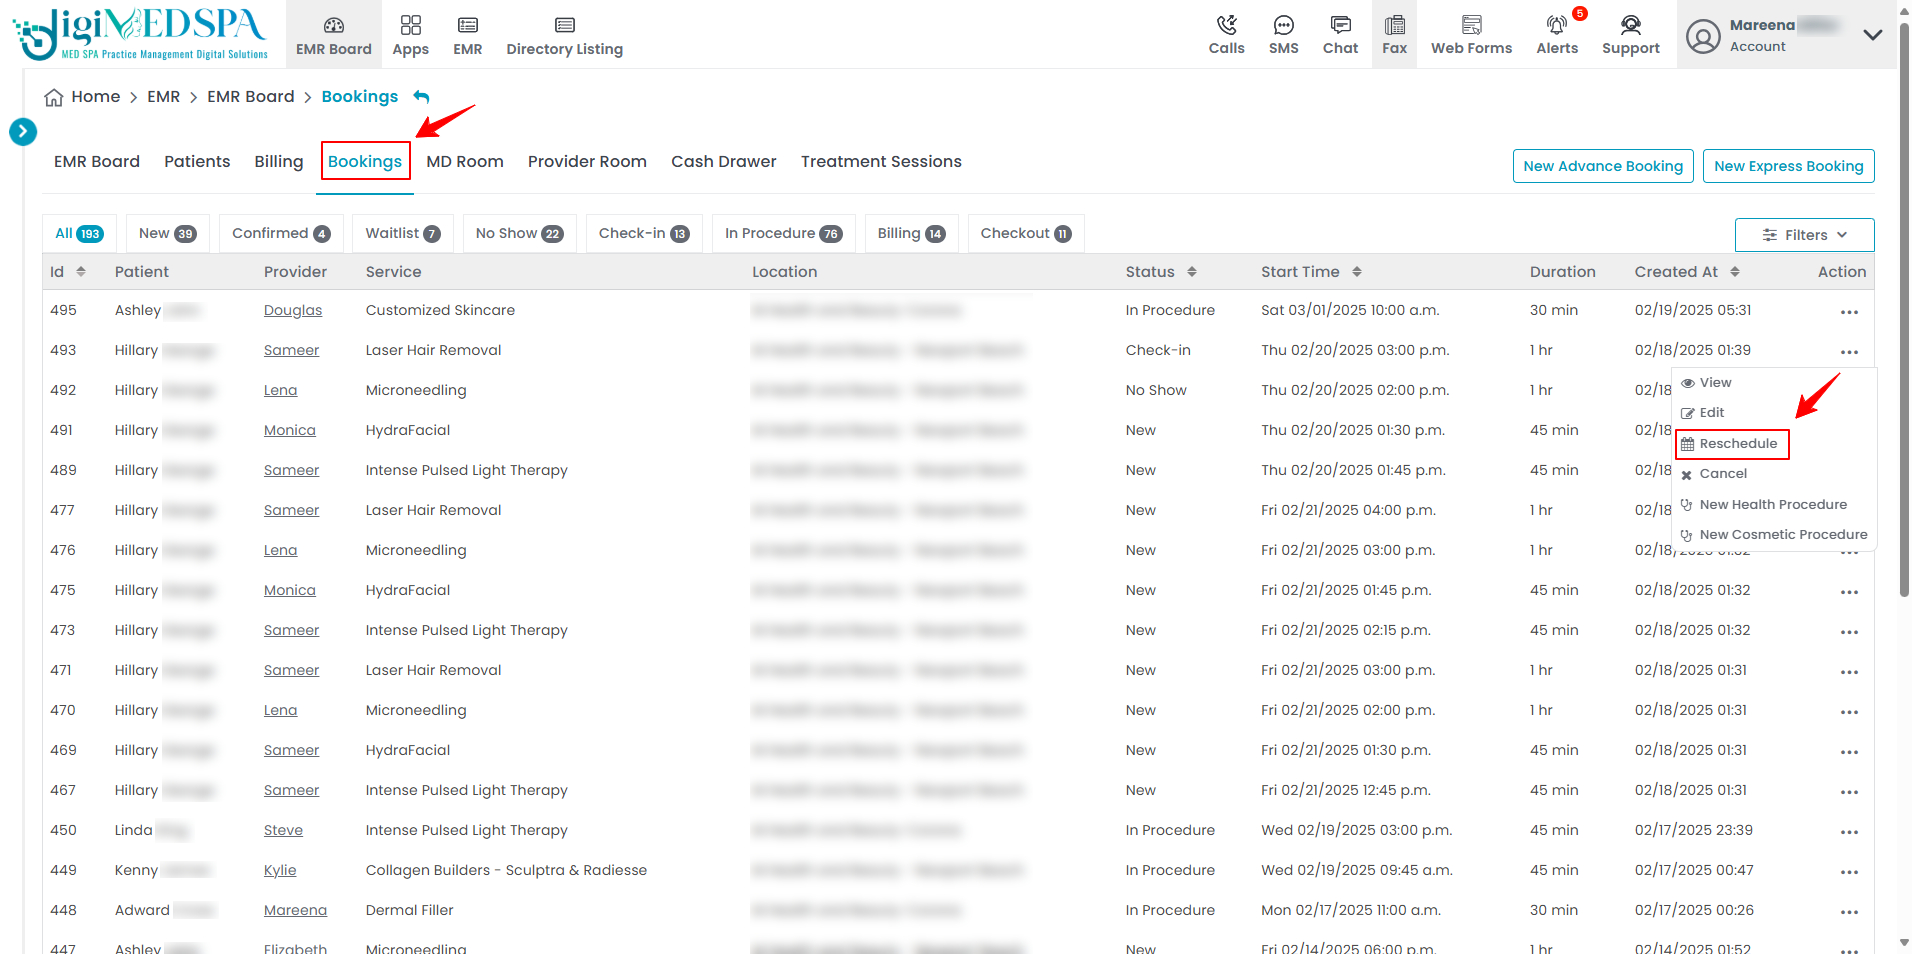
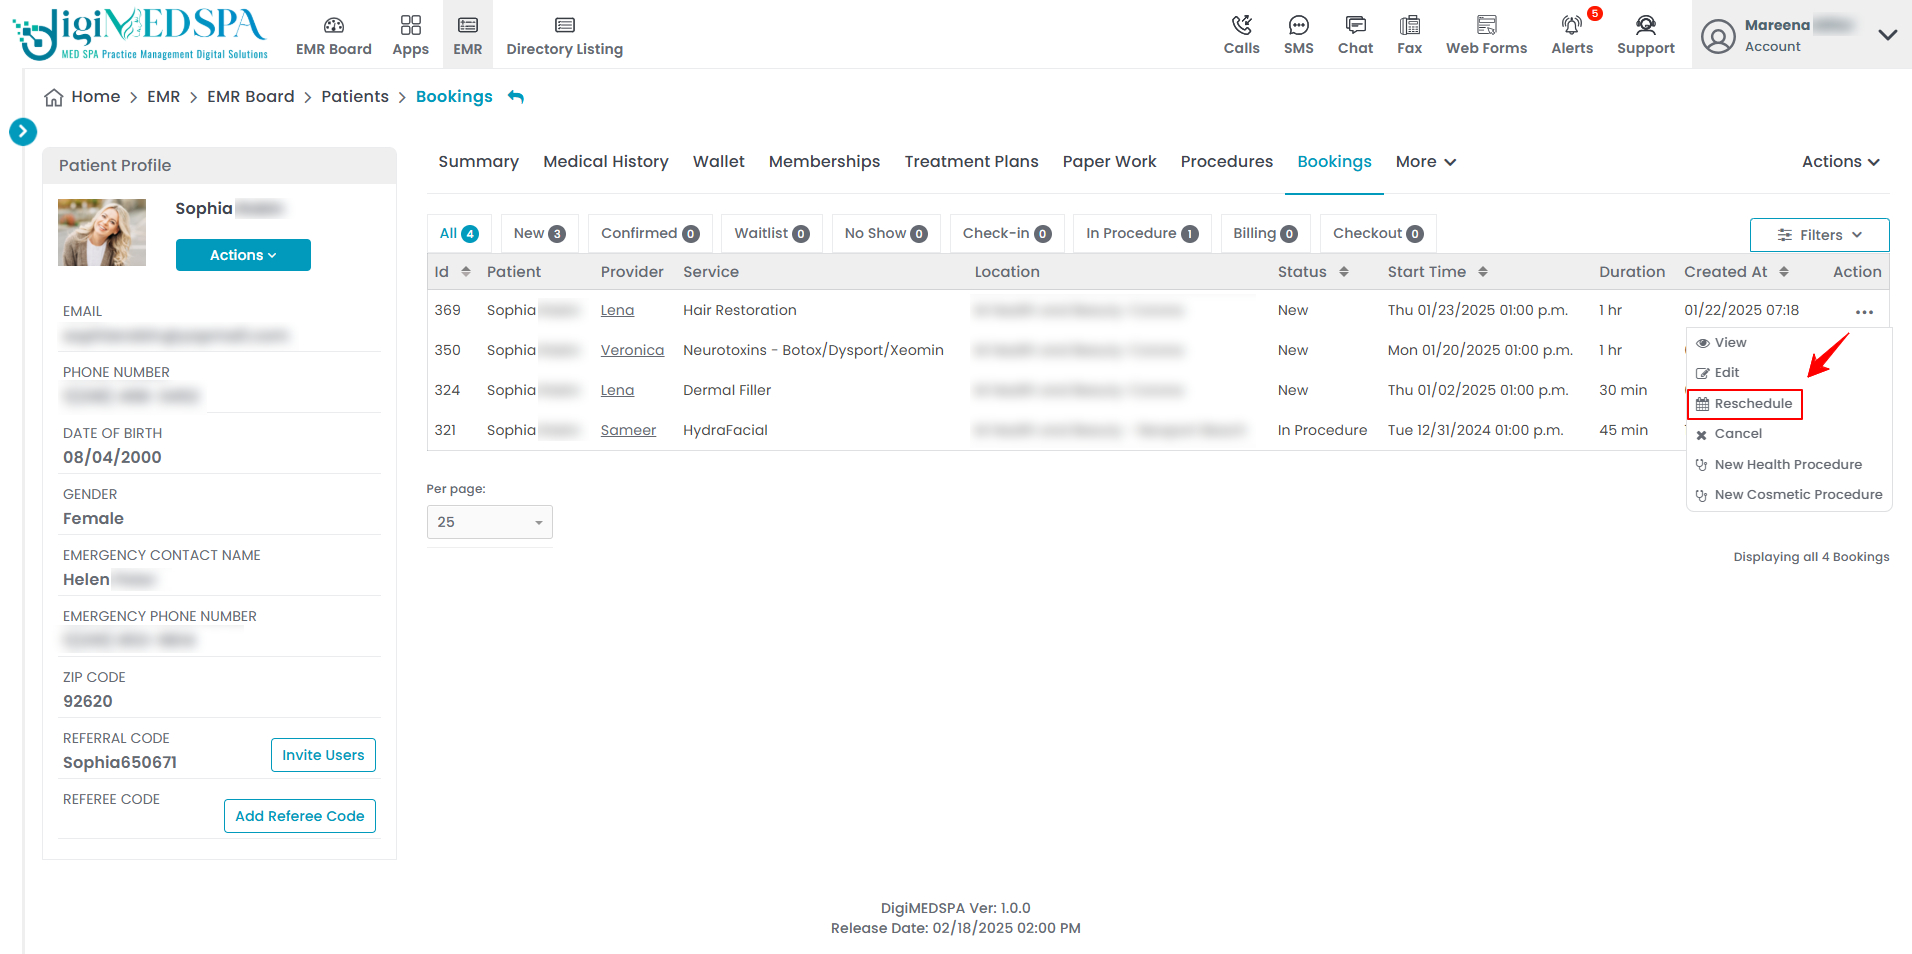
- From the bookings list, click on three dots under the action column and select "Reschedule" for the specific booking.
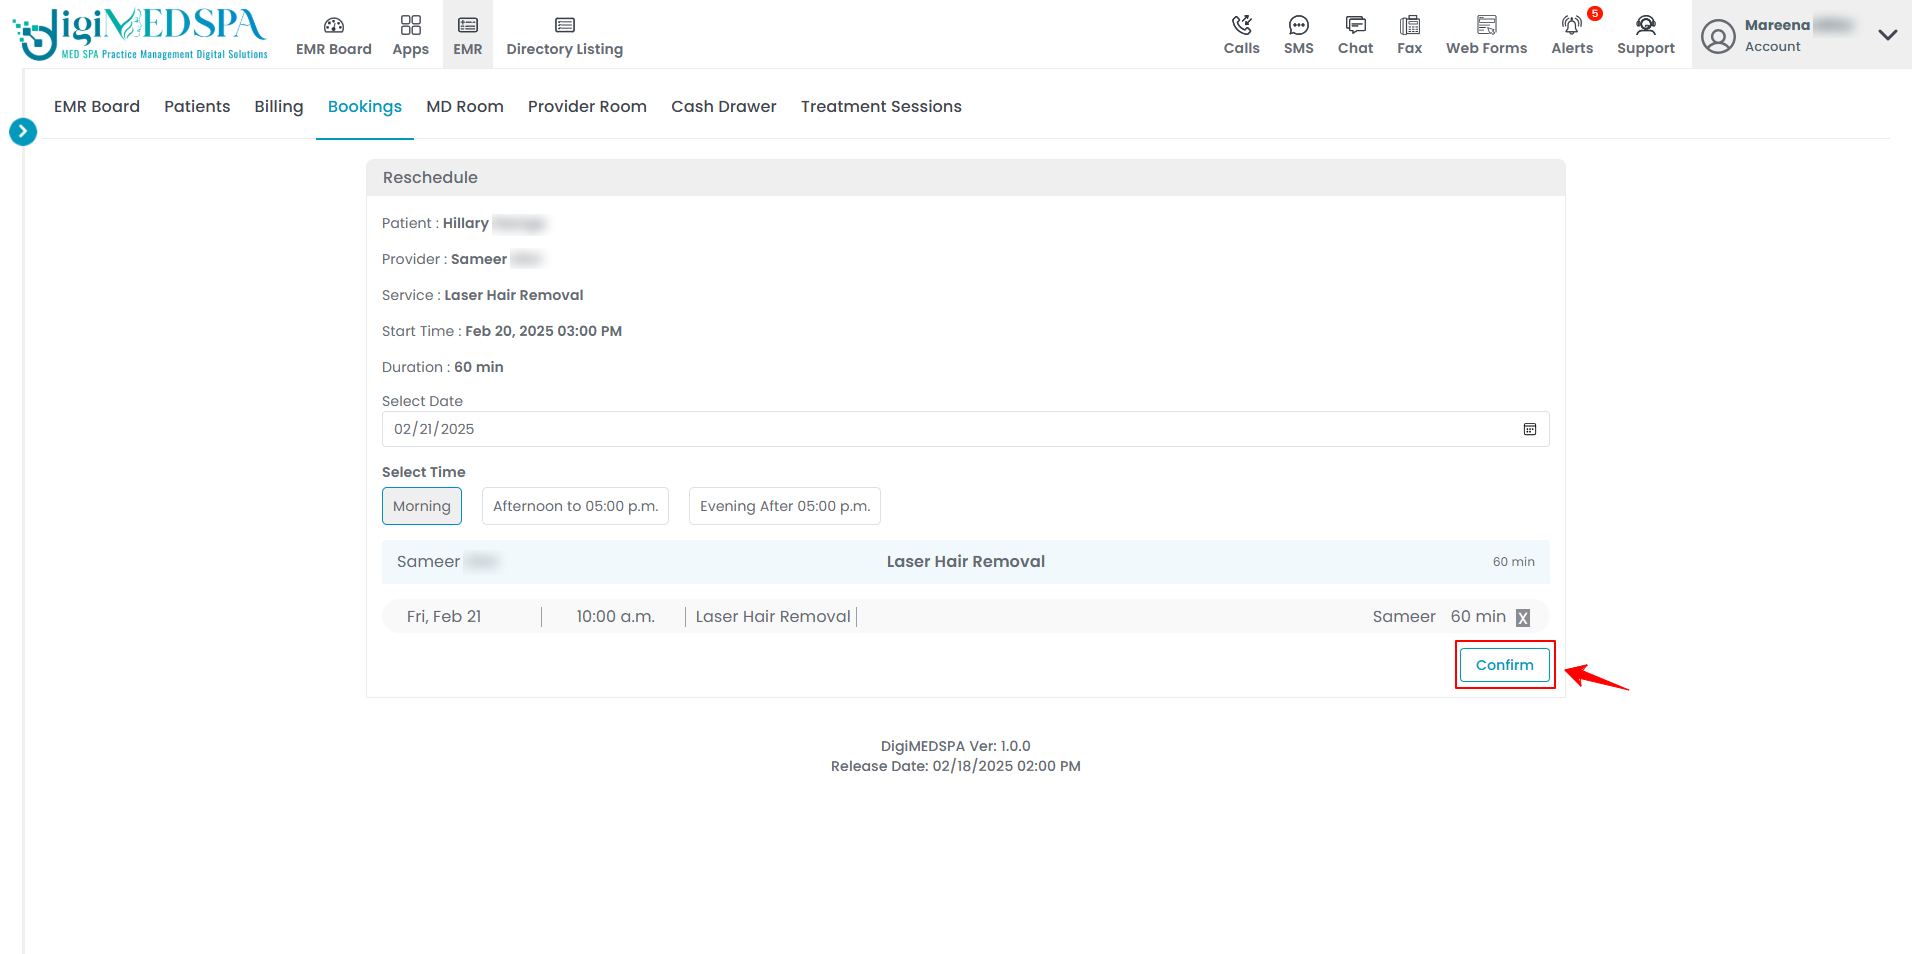
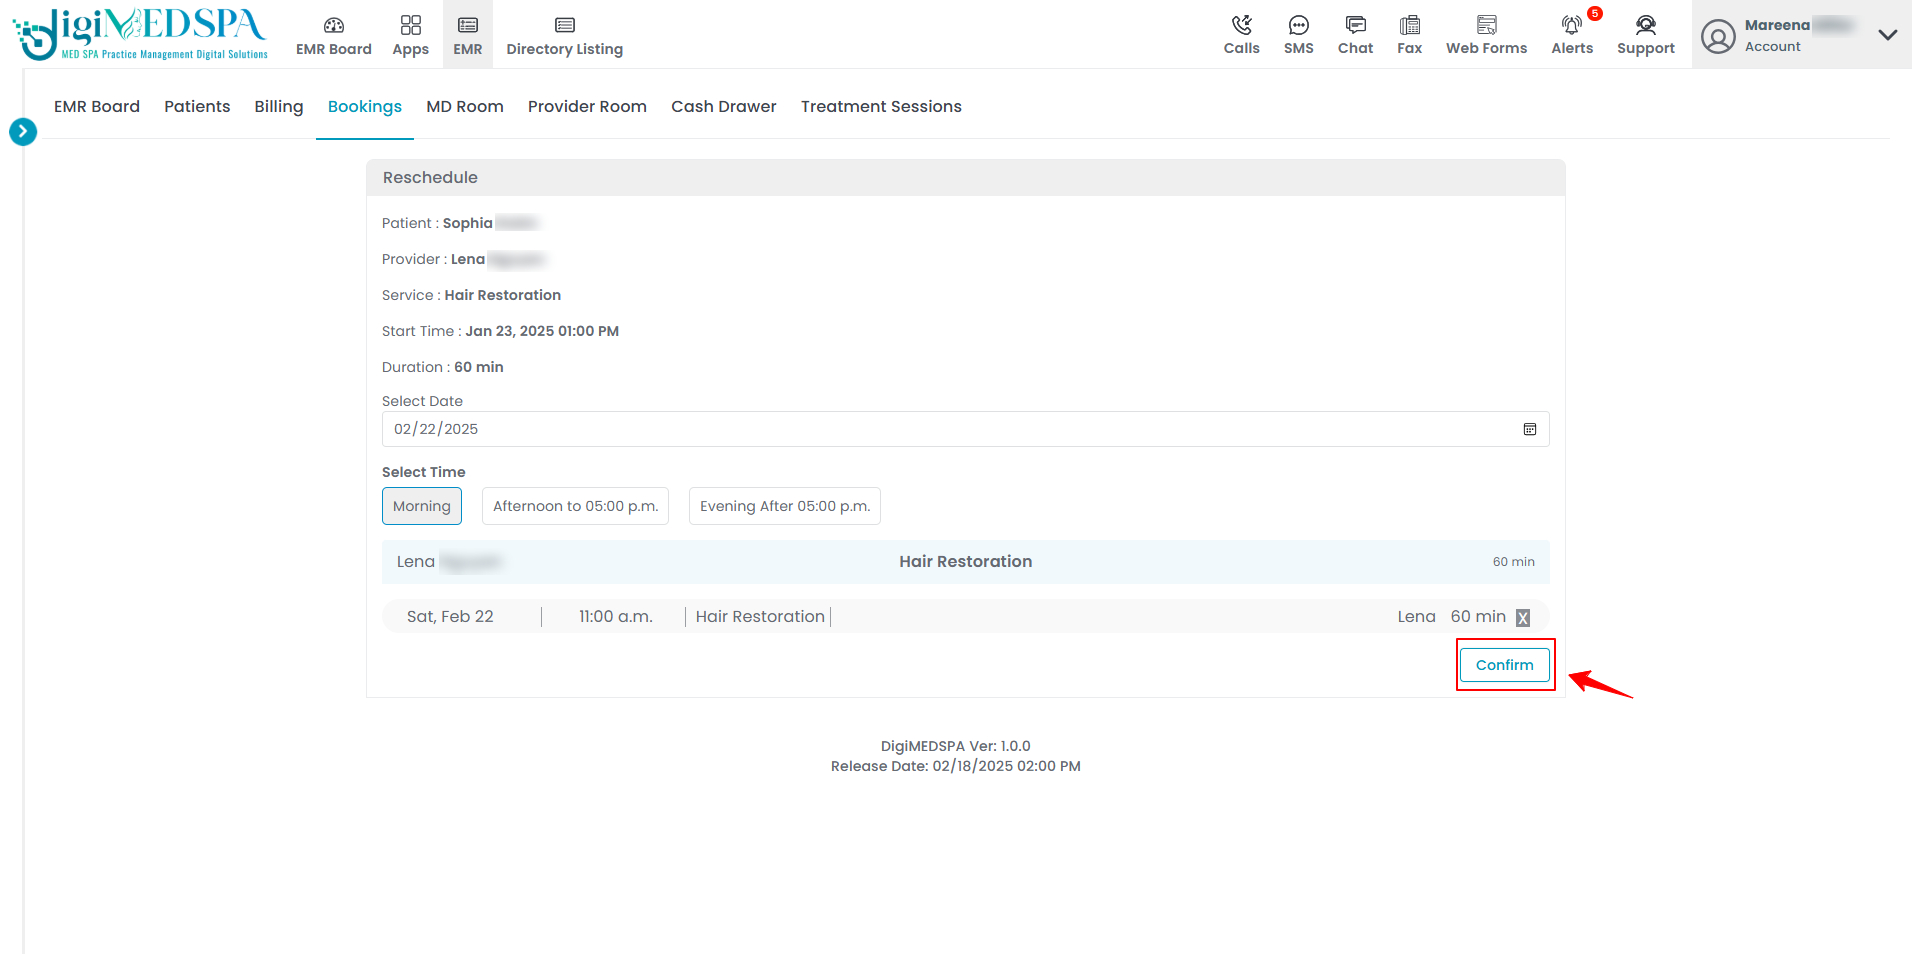
- To reschedule your booking, choose a new Date and Time, select an available time slot, and then click the “Confirm” button to finalize the changes.
- Once the changes are confirmed, the Booking Details Screen will appear, displaying the new Date and Time for your appointment.
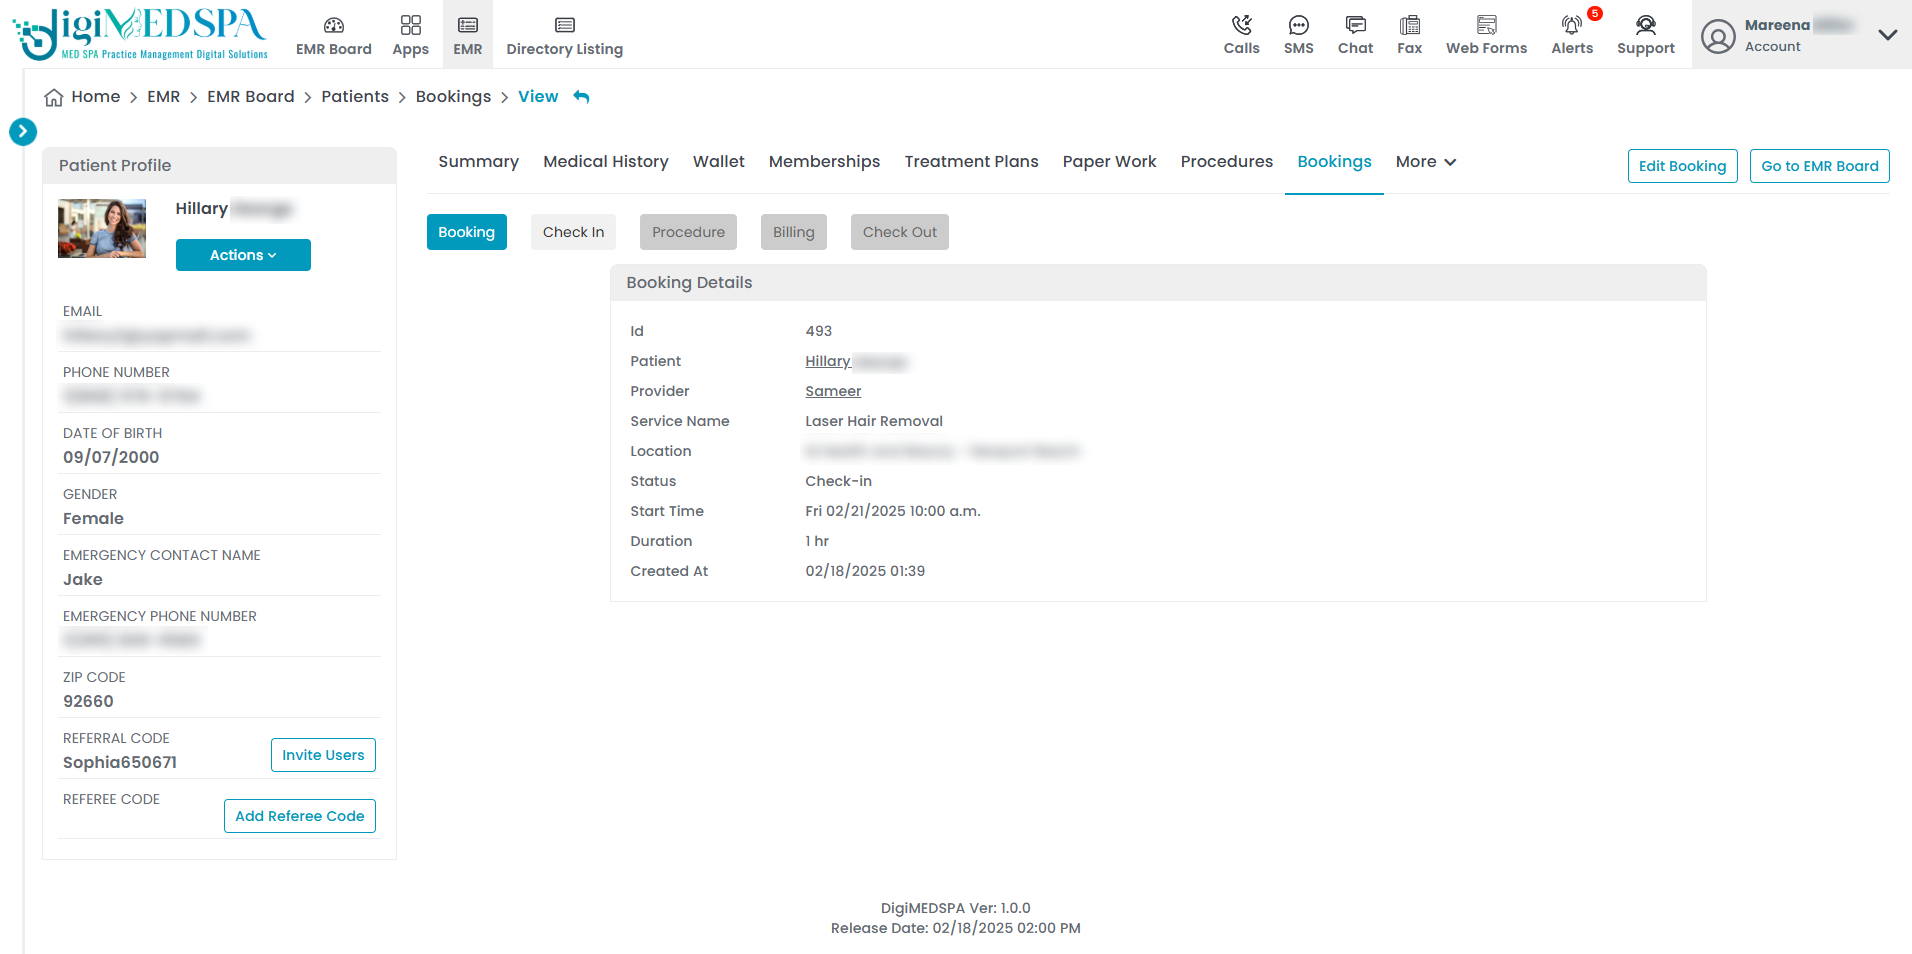 The booking has been successfully rescheduled!
Reschedule a Booking from the Patients List Screen
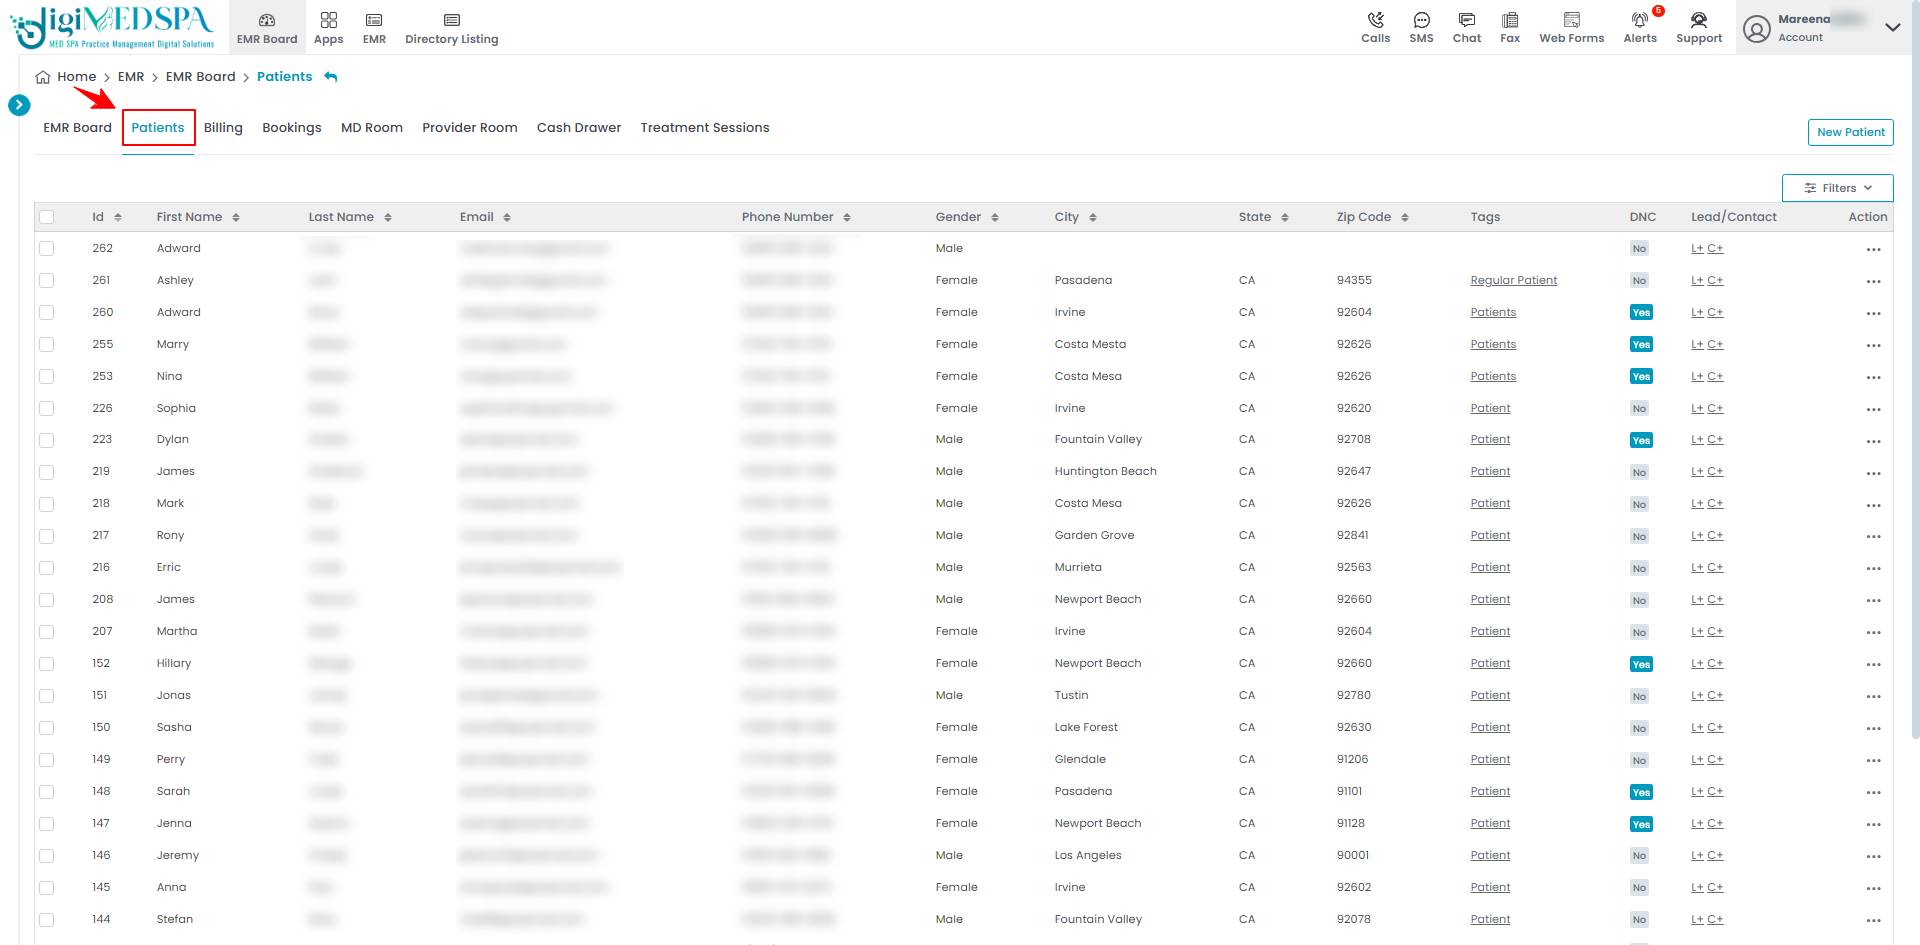
- The user can reschedule a booking through the Patients List Screen accessible via three entry points.
- From the EMR Board Tabs, click on ‘’Patients.’’
- From the Left Navigation, click on the “EMR Board” dropdown and select “Patients.’’
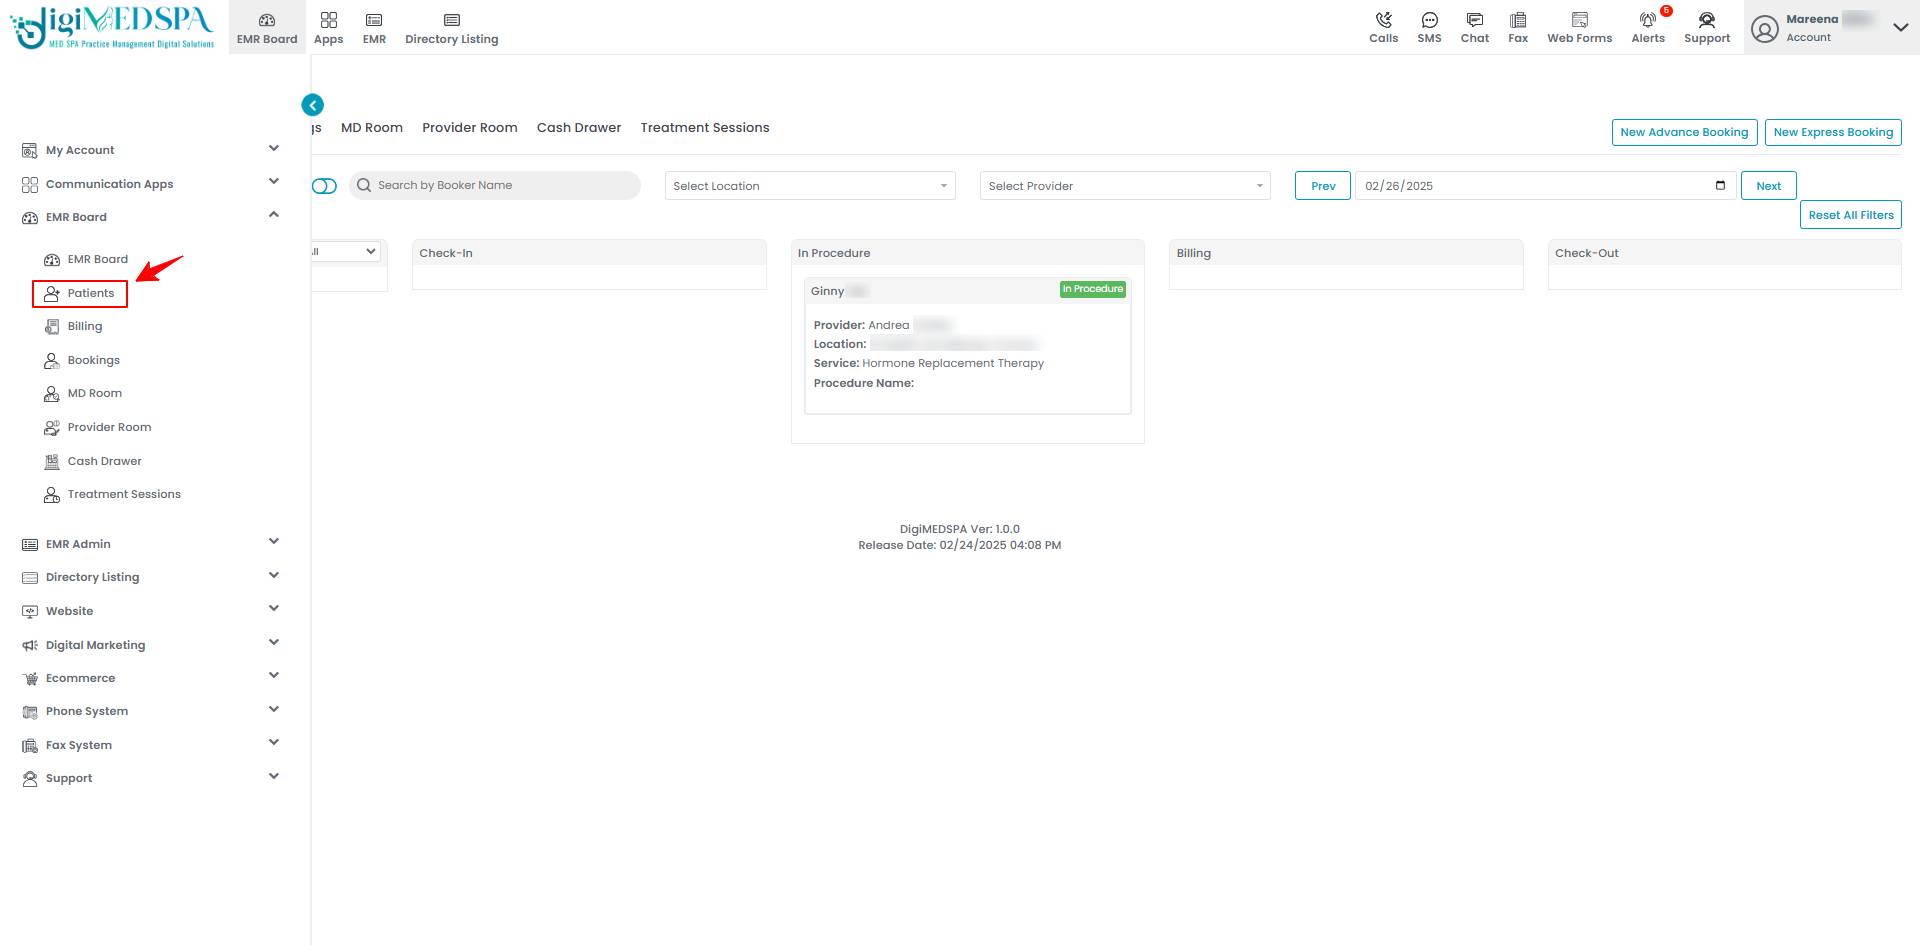
- From the EMR Panel, click on “Patients” under “EMR Board.’’

- From the EMR Board Tabs, click on ‘’Patients.’’
- From the patients list, click on three dots under the action column and select "View Patient Profile" for the specific patient.

- The Patient Profile will open, displaying a comprehensive summary of all patient details. Click on the “Bookings” tab to continue.
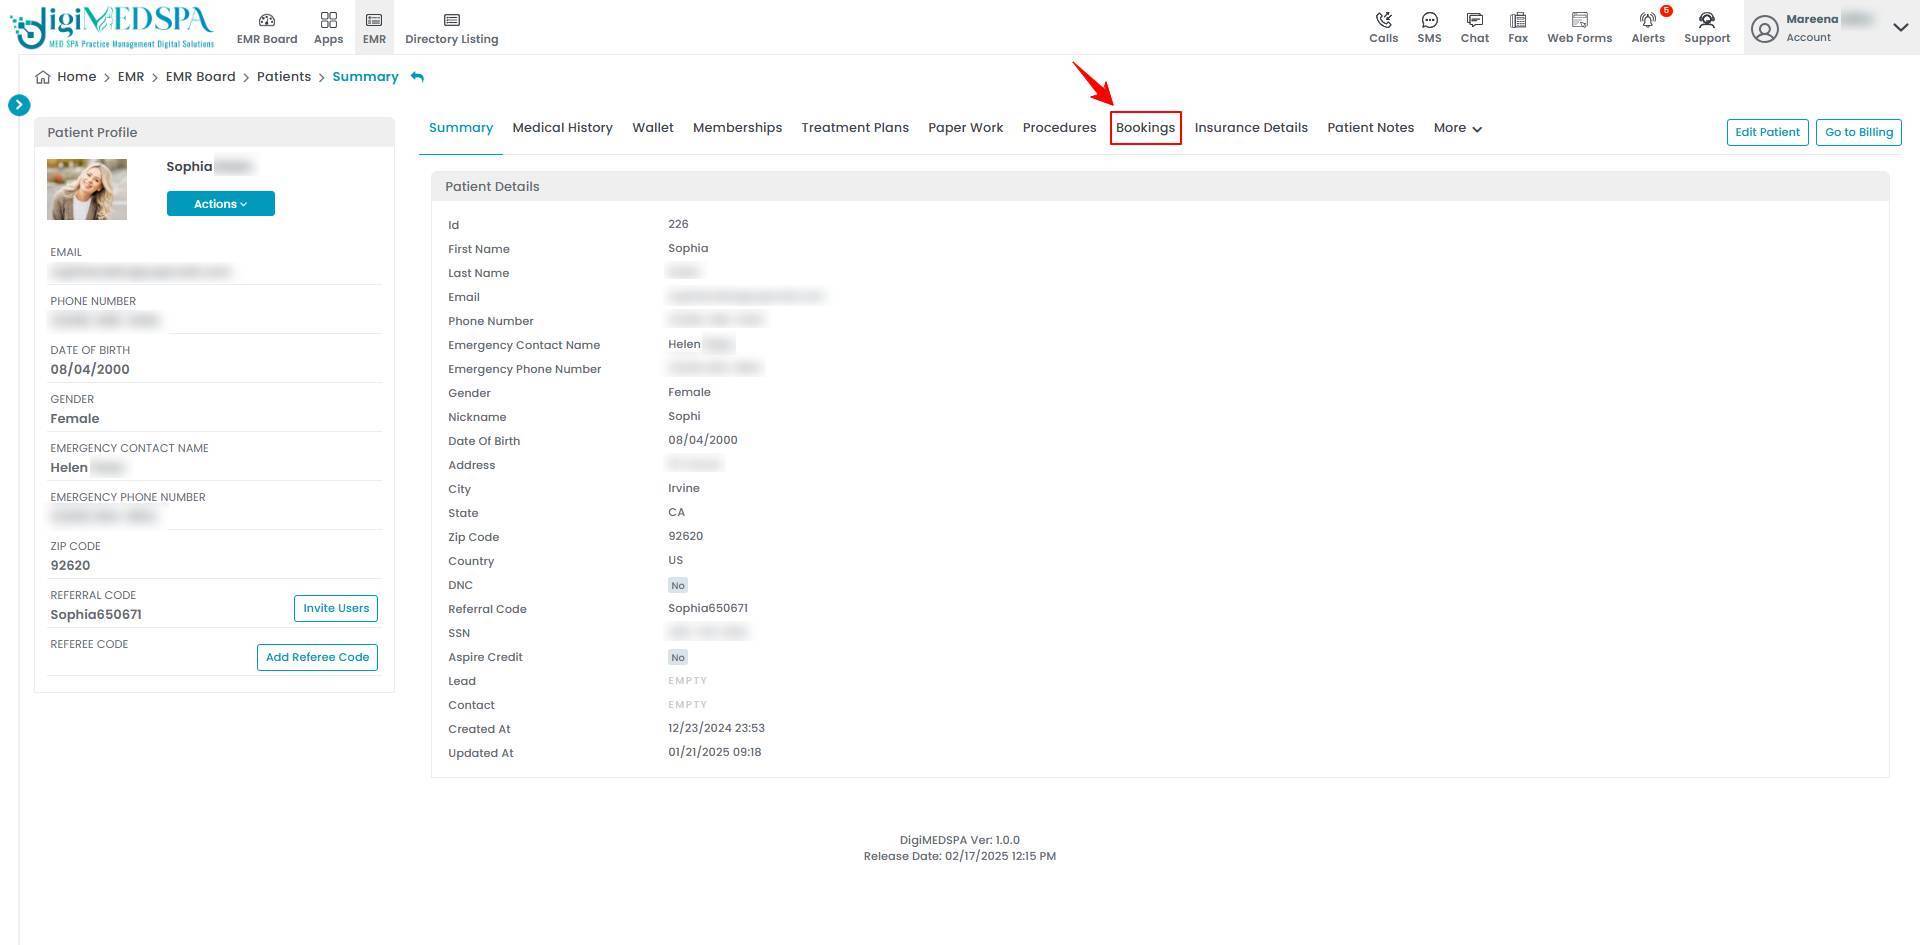
- Click on three dots under the action column and select "Reschedule" for the specific booking.
- Update the Date and Time, select an available time slot, and then click the “Confirm” button to finalize the changes.
 The booking has been successfully rescheduled!